
Mission: Scythe of Amon
Xel'Naga Temple
Sections on this Page
Mission Summary
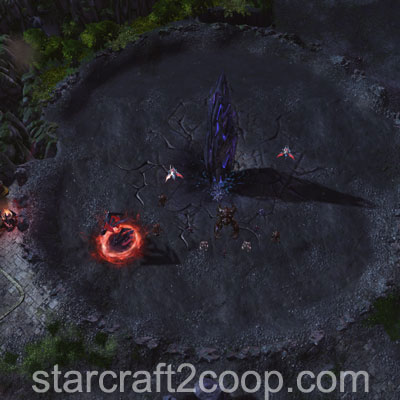
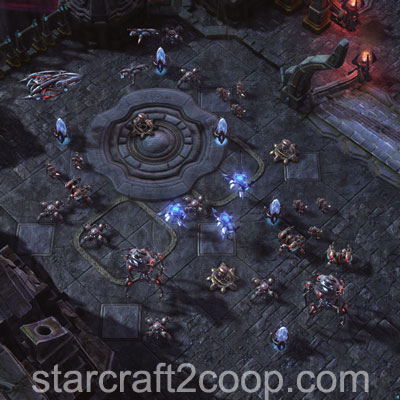
Nerazim scout Lyrak has made a startling discovery: Amon’s forces have invaded a xel’naga temple and are using its energies to awaken one of the Dark God’s most powerful creations. Put a stop to their plans by destroying the void slivers while there’s still time.
Objectives
Primary Objective
- Destroy Void Slivers (5)
- Do not let the Voidshade Hybrid awaken.
Secondary Objective
- Escort Evacuation Ships (3)
Identifying the Enemy Race
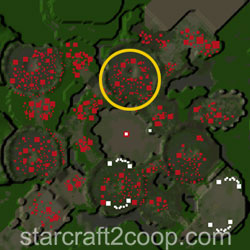
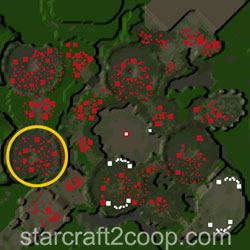
An important part in Starcraft II co-op is identifying the enemy race, and then the enemy composition. This allows you to effectively counter the attack waves on missions. In other missions, the presence of creep would point towards a Zerg race, while the absence of creep would point towards either Protoss or Terran. Scythe of Amon is the only mission in the game where you can uniquely identify the enemy race by checking creep spread. Press Alt + T to view the creep spread pattern. You'll get one of the following three patterns.
Protoss Creep Spread:
Terran Creep Spread:
Zerg Creep Spread:

A video is below:
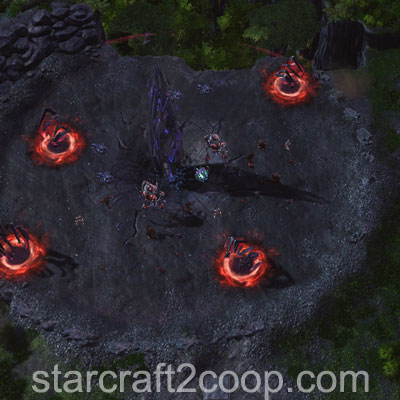
Void Sliver Growth
Every time a Void Sliver is destroyed, further reinforcements are added to the remaining Void Slivers. Additionally, all other remaining Void Slivers gain 2000 max shields, and their shields refreshed to full. This makes the other slivers more difficult to destroy. The reinforcement growth of each Sliver is shown below.
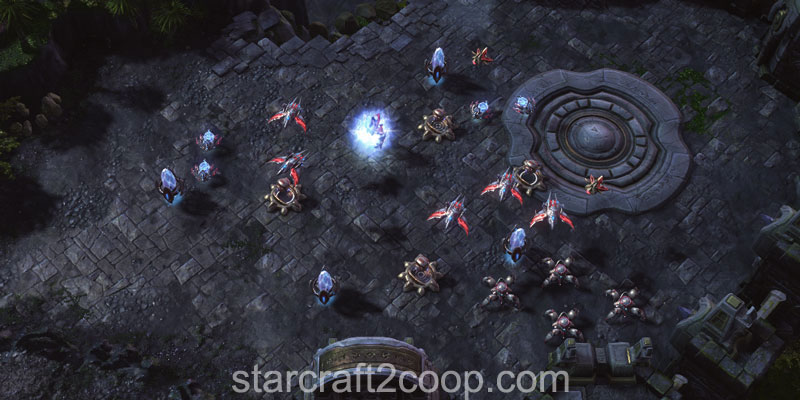
All units present will be Void units and will spawn from the Void Rifts around the Sliver before moving into position. These units can be Dominated and Reclaimed, but cannot be Mind-Controlled by Dark Archons.
Sliver 1:

Sliver 2:

Sliver 3:
Sliver 4:

Sliver 5:
Void Sliver Abilities
The Void Slivers will cast various abilities as they are attacked. The first Void Sliver will have no abilities. Subsequent Void Slivers will each have a random ability added from the list below. Therefore, Slivers #4 and #5 will have all abilities.
The list of abilities are below:
| Ability | Description | Cooldown |
|---|---|---|
| Shockwave | Casts an Area of Effect within 11 range of the Void Sliver with a chargeup time of 3 seconds, stunning all units within its range for 2 seconds. | 14 seconds |
| Death Grip | Creates a Death Grip Crystal within 16 range of the Void Sliver. Void Slivers #4 and #5 will spawn 2 Death Grip Crystals instead of 1 if they have the ability. Death Grip Crystals disable a set of units whose HP + Shields are less than 800*, and destroys them after 10 seconds unless the crystal is destroyed. | 60 seconds |
| Unstable Energy | Deals 100 damage in an area within 18 range of the Void Sliver after 4 seconds. | 20 seconds |
* The Death Grip Crystal target selection code picks a unit and adds its vitality to a pool for counting. If the total vitality in the pool is less than 800, the Death Grip Crystal will pick another target, repeating until the pool goes above 800 vitality. Therefore, it is possible for Death Grip Crystals to capture units that are greater than 800 HP.
Completing the Bonus Objective
Change all base analysis pictures to race:
The bonus objective requires you to escort a Warp Prism as it attempts to evacuate people. The stopping points of these prisms are within enemy bases. The bases that will be encountered, in the order of the stopping points (assuming the objective doesn't get shot down) is shown below.
Stop Point 1:
Stop Point 2:

Stop Point 3:


It is also important to note that each stopping point will feature a difference race of enemy units. The race will not match the race of the Attack Waves on this map. However, based on the race of the Attack Waves, you can tell what race of enemy units will be present in each of the three Stopping Points above as follows:
| Race of attack wave | Stop Point 1 Race | Stop Point 2 Race | Stop Point 3 Race |
|---|---|---|---|
| Protoss | Zerg | Terran | Protoss |
| Terran | Protoss | Zerg | Terran |
| Zerg | Terran | Protoss | Zerg |
The first Stopping Point will always be the same area. However, Stopping Points 2 and 3 will be switched, if you destroy Sliver 3 (above) before the objective leaves the first stopping point.
Timings
Note: Information on Tech and Strength levels can be found on the Enemy Compositions page.
The Attack Wave Timings for this mission are:
| Wave | Time | Tech Level | Strength Level |
|---|---|---|---|
| 1 | 2:48 | 1 | 1 |
| 2 | 7:00 | 2 | 2 |
| 3 | 9:00 | 3 | 3 |
| 4 | 12:30 | 4 | 4 |
| 5 | 16:00 | 5 | 5 |
| 6 | 19:00 | 6 | 6 |
| 7 | 22:00 | 5 | 5 |
| 8 | 24:00 | 6 | 6 |
| 9 | 26:00 | 6 | 6 |
Additionally, some attack waves will also have Hybrids in them. These attack waves, and the number of Hybrids in them is shown below:
| Wave | Minor Hybrid | Major Hybrid |
|---|---|---|
| 1 | 0 | 0 |
| 2 | 1 | 0 |
| 3 | 1 | 0 |
| 4 | 2 | 1 |
| 5 | 2 | 1 |
| 6 | 2 | 1 |
| 7 | 2 | 1 |
| 8 | 2 | 1 |
| 9 | 2 | 1 |
The types of these Hybrids will depend on the enemy race, as follows:
| Race | Minor Hybrid | Major Hybrid |
|---|---|---|
| Protoss | Hybrid Destroyer | Hybrid Behemoth |
| Terran | Hybrid Reaver | Hybrid Dominator |
| Zerg | Hybrid Nemesis | Hybrid Dominator |
The Bonus Objective will move towards a Stopping Point at the following times:
- 7:00
- 13:00
- 16:00
Spawn Points
Attack Waves spawn from two different sides of the map, each with their own spawn point. Unfortunately, these points are not pathable, and hence, cannot be spawn-camped. However, all attack waves will rally to a Hybrid spawn point. This point can be spawn camped. These spawn points are shown below.
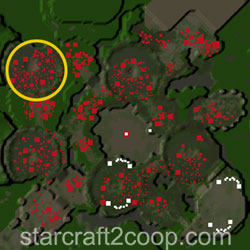
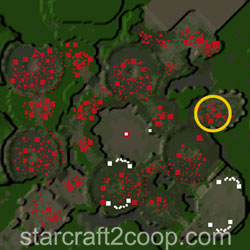
Northern Attack Wave:
Southern Attack Wave:
Mission Tips
- Ensure you have adequate troops for later Slivers. Death Grip Crystals can destroy a tiny army instantly.
- Death Grip Crystals cannot target Heroic units.
- Death Grip Crystals are considered units, which means they can be targeted by abilities like Snipe and Mind Blast.
- More skilled players can reverse-clear the mission, starting with the farthest Slivers from the base. This removes those difficult Slivers from play early while they are still weak.
- It is usually better to clear Sliver 2 and to get access to your expansion early. This is especially useful for commanders that require a strong economy.
Commander-specific Tips
- Abathur: Place Toxic Nests on hybrid spawn locations to weaken the attack waves.
- Abathur: When farming for biomass at the start of the mission, place Toxic Nests near Void Rifts to quickly collect Biomass from Void Rift units.
- Alarak: Clear the Expansion Sliver first with two photon overcharges.
- Artanis: Clear the Expansion Sliver first with one Solar Bombardment.
- Han & Horner: Place Mag Mines on hybrid spawn locations to weaken the attack waves.
- Karax: Sneak a probe into the Expansion Sliver location and use photon cannons to destroy it.
- Mengsk: Mengsk can speedrun this mission relatively easily by using Bunkers to clear Sliver 4, Nukes to clear Slivers 3 and 5, and Earthsplitters to clear Slivers 1 and 2.
- Nova: The gas at the left of the top expansion can be taken without drawing enemy aggro at the start of the game.
- Nova: If you use Siege Tanks, place Spider Mines on hybrid spawn locations to weaken the attack waves.
- Raynor: If you use Vultures, place Spider Mines on hybrid spawn locations to weaken the attack waves.
- Vorazun: The gas at the left of the top expansion can be taken without drawing enemy aggro at the start of the game.
- Vorazun: Place Dark Pylons on each side of the map so you can intercept Attack Waves.
- Zeratul: The Void Suppression Crystal can be used to interrupt and disable all Void Sliver abilities.